
 RB Components
07+ Sprinter Van Side Ladder
Indexed listing. WNDR Built doesn't sell this product; the button opens rbcomponents.com.
Roof access along the van’s side
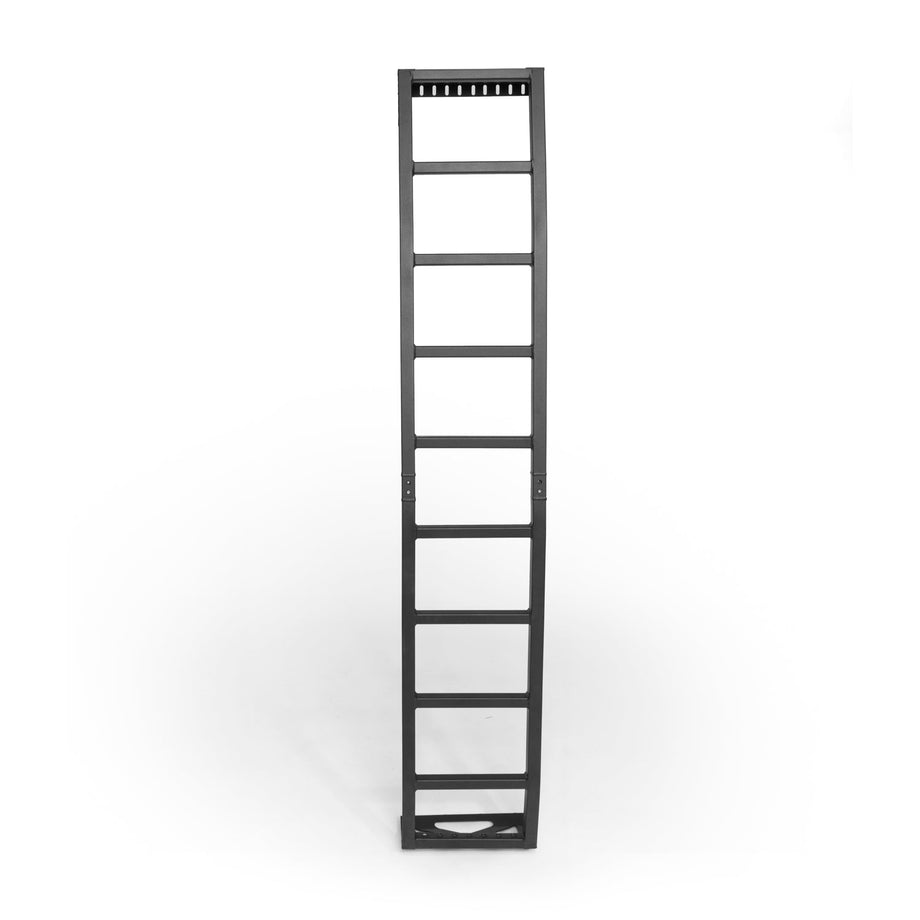
Reach the roof from the side of the van with a ladder shaped to follow the body contour. RB Components describes this as a low-profile design intended to hug the van’s contour. The lower section is shaped with clearance in mind.
The ladder uses square aluminum tubing with a black powder-coated finish and comes in a two-piece design. RB Components says the split design reduces shipping cost.
Rail or rack attachment
The ladder mounts to OEM factory roof rails or an RB roof rack.
Stainless mounting hardware
Stainless mounting hardware is included.
Manufacturer-listed fitment & checks
Vehicle fitment
As listed by RB Components
- Mercedes-Benz Sprinter, 2007+.
Drilling required
The guide requires four mounting holes drilled into the van seam for the lower ladder section. The backing plate and nylon locknuts fit behind the seam.
Current revision and photos
RB Components states the current revision does not have the top step and that its photos will be updated. Product photos may show the earlier top-step design.
Required roof equipment
Factory OEM roof rails must be installed before the ladder. The product page also lists mounting to an RB roof rack; the manual shows the ladder mounted underneath that rack.
Fit configuration
Standard Fit. The linked guide distinguishes straight and wheel-well-curved ladders; this listing has no fit-configuration selector.
Specs, parts & installation
Ladder construction
| Material | Square aluminum tubing |
|---|---|
| Finish | Black powder coat |
| Width | 16" |
| Construction | Two-piece ladder |
| Origin | Made in the U.S.A. (manufacturer statement) |
What’s in the box
Ladder
Two-piece side ladder
Upper mounting hardware
Stainless mounting hardware; the guide describes roof-rail slide hardware and angled upper brackets.
Lower mounting hardware
Button-head screws, backing plate and nylon locknuts described in the manual.
Installation at a glance
Mount the upper ladder section loosely, secure the lower seam mount, then tighten the upper hardware.
Read the complete instructions before starting. To insert the aluminum roof-rail bracket, remove the black end cap; the bracket fits in only one orientation. Position the carriage bolts with their button heads facing out, as shown in the guide.
Tools listed in the guide
- 7/16” socket
- 3/32” allen wrench
- 9/16” socket
Installation sequence from the guide
- Locate the roof-rail slide hardware, remove the black end cap and slide in the aluminum mounting bracket in its permitted orientation.
- Slide the brackets to the intended upper-mount location and loosely attach the ladder using the supplied angled mounting brackets, with carriage-bolt button heads facing out.
- Align the ladder, mark and drill the four holes in the van seam, then attach the lower section using button-head screws, the backing plate and nylon locknuts.
- After securing the lower section, firmly tighten all upper mounting hardware.
Lead Time
A direct signature is required for shipments of $500 and higher or items deemed high value; RB Components disclaims responsibility for lost or unreceived items if that requirement is waived.
Read RB Components lead time policy on WNDR BuiltWarranty
Read RB Components warranty policy on WNDR BuiltReturns
Unused items in original packaging may be returned within 30 days of purchase with proof of purchase; a 10% restocking fee applies, customers pay return shipping, and returns must be postmarked within 30 days of approval.
Read RB Components returns policy on WNDR BuiltWhat are people saying?
Find owner feedback, discussions, and installation videos for this product.
Searches use the manufacturer and product name and open in a new tab. Results may include similar products.
WNDR Built Community
Our community blog is coming in the future.
Community · Coming soon