
 Aluminess
Nerf Bars - 2007-26 Sprinter
Indexed listing. WNDR Built doesn't sell this product; the button opens aluminess.com.
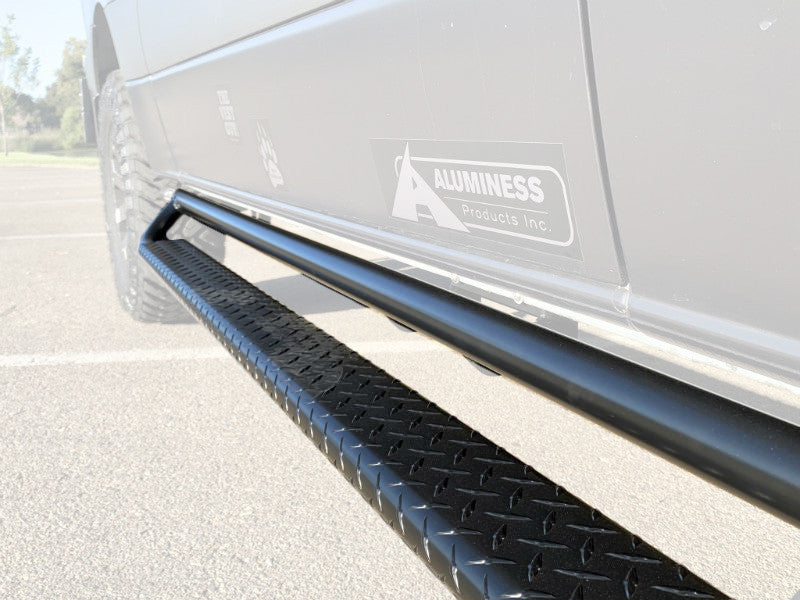
Side steps for entering and leaving your Sprinter
Aluminess Nerf Bars provide a side step for getting in and out of a Sprinter, including expedition vehicles that are lifted or have 4×4 drivetrains. Aluminess describes the design as retaining ground clearance while providing a place to step.
The maker also describes the bars as protection against shopping carts.
Aluminum construction
The bars are made from aluminum.
Front, center and rear brackets
The installation guide uses front mounting plates, bolt-on center brackets and bolt-on rear blades to attach the bars beneath the van.
Manufacturer-listed fitment & checks
Vehicle fitment
As listed by Aluminess
2007–26 Mercedes Sprinter, as named in the product-page title.
Factory equipment restriction
Not compatible with the factory A/C and auxiliary heater.
Not rock sliders
Aluminess states that its nerf bars and side steps are not rock sliders; their purpose is entry and exit.
Drilling required
The guide requires drilling through the brackets, vehicle pinch weld and rear body brace, plus self-tapping fasteners into the van body.
California warning
WARNING: Cancer and Reproductive Harm - www.P65Warnings.ca.gov.
Wheelbase
Choose the 144" or 170" option to match the van’s wheelbase.
Converted vehicles
Aluminess designs its products for factory-manufactured vehicles; some aftermarket conversions are incompatible.
Specs, parts & installation
Construction
| Material | Aluminum |
|---|
Shipping package
| Height | 11 IN. |
|---|---|
| Width | 104 IN. |
| Depth | 15 IN. |
| Weight | 58 LBS. |
What’s in the box
Both sides
Driver-side and passenger-side nerf bars.
Brackets
Two bolt-on rear blades and a set of bolt-on center brackets, one passenger and one driver.
Hardware
Mounting bolts, nuts, washers, self-tapping bolts and one 2g anti-seize packet, as listed in the guide.
Installation at a glance
The guide requires two people.
Attach the bars beneath the van using the brackets, drilled pinch-weld and body-brace attachments, and self-tapping fasteners. Apply anti-seize to stainless bolt threads as recommended in the guide.
Use the guide’s specified torque values, and recheck all mounting hardware after 100 miles of driving.
Installation sequence
- Fit the rear blades and center brackets loosely to allow positioning.
- Hold each bar beneath the rocker panel and clamp the rear blade against the rear body brace.
- Secure the front bracket with self-tapping screws; the guide allows a 3/16” pilot hole if needed.
- Drill and through-bolt the pinch-weld attachments, align the bar with the van’s contour, and drill and bolt the rear body-brace attachments.
- Secure the center bracket with self-tapping fasteners and drill its second attachment hole before tightening all brackets.
Tools listed in the guide
- Drill and drill bits (1/4”, 5/16”, 3/8”).
- Standard wrench set, center punch or scribing tool, leveling tool and C-clamps.
Lead Time
Read Aluminess lead time policy on WNDR BuiltWarranty
Read Aluminess warranty policy on WNDR BuiltReturns
Read Aluminess returns policy on WNDR BuiltWhat are people saying?
Find owner feedback, discussions, and installation videos for this product.
Searches use the manufacturer and product name and open in a new tab. Results may include similar products.
WNDR Built Community
Our community blog is coming in the future.
Community · Coming soon