
 VanMade Gear
Transit Ekko - Screen Door
Indexed listing. WNDR Built doesn't sell this product; the button opens vanmadegear.com.
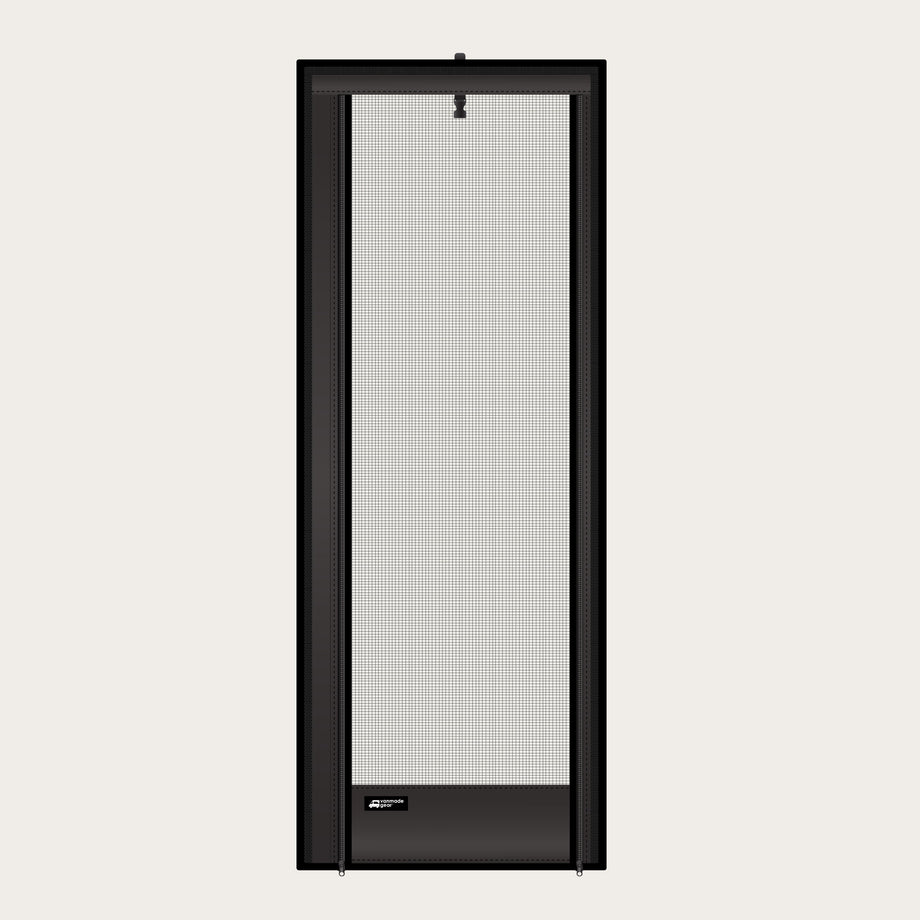
A replacement screen with magnetic closure
This replacement screen door uses no-see-um mesh with a magnetic opening edge and an auto-close feature. The mesh attaches with adhesive Velcro around the inner door frame; VanMade Gear says no drilling is required.
The magnetic edge lets the screen open for entry and close again behind you, as described in the maker’s installation guide. Double-sided foam tape cushions the hinge areas left after removal of the original screen door.
When not in use, the screen rolls toward the top and is held with integrated buckle straps. VanMade Gear’s guide says that, when closed, the screen can remain installed while the vehicle doors open and close.
Water-repellent fabric
The maker describes the fabrics and materials as water-repellent and ultraviolet-resistant.
Lightweight construction
VanMade Gear describes the screen door as designed to be lightweight and rattle-free.
Manufacturer-listed fitment & checks
Vehicle fitment
As listed by VanMade Gear
Transit Ekko (Winnebago Ekko), as named in VanMade Gear’s product title. Its installation guide is headed Compatible with: Winnebago Ekko – Transit and Sprinter.
Factory screen door removal
The factory hinge-mounted metal screen door and its latch/lock assembly must be removed before mounting this replacement.
Adhesive mounting conditions
The frame must be cleaned with rubbing alcohol and allowed to dry completely. If it is cold, the guide advises running the van heater or slightly warming the metal door frame with a hair dryer before applying tape and Velcro.
Specs, parts & installation
Screen & construction
| Screen | No-see-um mesh screen |
|---|---|
| Fabric | Water-repellent, ultraviolet-resistant fabrics and materials, per VanMade Gear |
| Opening | Magnetic opening edge with auto-close |
| Mounting | Adhesive Velcro along the inner door frame; double-sided foam tape for the hinge areas |
| Stowing | Unzips on both sides, rolls toward the top and secures with integrated buckle straps |
| Made in | Portland, Oregon, USA, per VanMade Gear |
What’s in the box
Screen door
Screen door
Hinge-area tape
Double-sided foam tape (listed as included in the installation guide)
Installation at a glance
VanMade Gear says no drilling is required.
The mesh attaches with adhesive Velcro around the inner door frame. Double-sided foam tape cushions the hinge areas after factory screen door removal.
The guide advises checking the Velcro adhesion periodically, especially in high heat or humidity.
Tools listed in the installation guide
- 3/32" Allen wrench or hex bit
- #1 square bit driver
- Phillips screwdriver
- Rubbing alcohol and a clean microfiber cloth
- Masking tape and pen/pencil
- Double-sided foam tape (included)
- Scissors or utility knife
Installation sequence from the maker’s guide
- Remove the four screws from each factory screen-door hinge, lift the screen door off, and remove the striker plate for its latch and the long plastic piece near the handle.
- Clean the full perimeter of the door frame with rubbing alcohol and allow it to dry completely. Cut the provided foam tape to fit the hinge areas and press the hinges firmly against the frame.
- Hold the screen centered against the frame so its bottom edge just touches the floor without dragging or leaving a large gap. Mark the placement and height at both upper corners with masking tape.
- The Velcro on the screen is sewn ½” in from the edges. Start at the top, peel the backing a little at a time, and press the strip across the frame; continue down the sides close to the inner edge without pulling or stretching the Velcro.
- Press all Velcro strips firmly with even pressure to activate the adhesive. Use the plastic backing or a clean cloth under your thumb to avoid scraping your skin. Refit the long plastic piece; the smaller latch plate is no longer needed.
- Align the screen with the bottom Velcro strip, then work up each side, keeping it centered with even tension. Adjust so the magnetic strip closes naturally without pulling or sagging; test the entry from inside and peel and reposition if necessary.
- To stow it, unzip both sides, roll the screen toward the top and secure it with the integrated buckle straps; when closed, the screen can remain installed while the vehicle doors are opened and closed.
Lead Time
Approximate lead time is 4 weeks, with free standard shipping within the continental U.S.; email for a quote elsewhere.
This product
VanMade Gear’s Transit Ekko product page warns that raw-material supply delays may extend completion and shipping beyond its usual lead time.
Warranty
Material and workmanship defects are covered for life; VanMade Gear chooses repair or replacement, and the customer pays shipping both ways.
Read VanMade Gear warranty policy on WNDR BuiltReturns
Approved returns within 60 days of delivery; custom work and warned-against fitment purchases excluded; customers pay shipping unless VanMade error; damaged products risk fees or rejection.
Read VanMade Gear returns policy on WNDR BuiltWhat are people saying?
Find owner feedback, discussions, and installation videos for this product.
Searches use the manufacturer and product name and open in a new tab. Results may include similar products.
WNDR Built Community
Our community blog is coming in the future.
Community · Coming soon